Retro Fit Insulation Removal SERVICES DEVON AND CORNWAll
Restoring Your Home’s Value:
The Professional Extraction Process: How to Correctly Remove Cavity Wall Insulation...
Removing retrofit cavity wall insulation (CWI) is a precise engineering task. It is not simply a matter of "hoovering" out the material; it requires a systematic approach to ensure the cavity is left entirely clear, the wall ties are inspected, and the building’s breathability is restored without causing further damage to the masonry.
Protect Your Health and Your Property
Don't take any chances when it comes to Retro Fit Insulation. Contact us today for a reliable Retro Fit Insulation removal service.
1. Site Mapping and CCTV Inspection
Before any removal begins, a technician must understand exactly what is inside the walls and where the problem areas are.
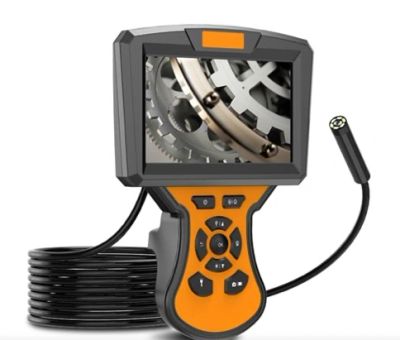
CCTV Survey: Small cameras are inserted into the cavity through existing or new drill holes. This identifies the type of material (beads, glass wool, or urea-formaldehyde foam) and locates "blockages" like mortar snots or collapsed insulation.
Pattern Mapping: The team identifies the injection points used during the original installation to plan the extraction route.
2. The Extraction (High-Volume Vacuum Recovery)
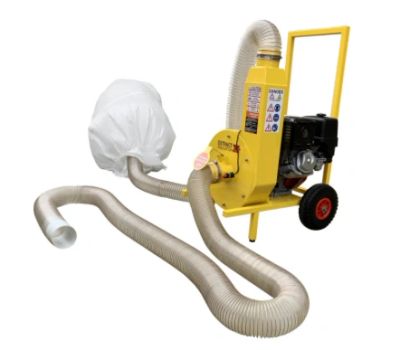
The actual removal is performed using a high-powered industrial vacuum system, usually mounted on a truck.
The "Bottom-Up" Method: Technicians remove bricks at the lowest point of the wall (just above the Damp Proof Course).
Compressed Air Agitation: While the vacuum hose is active at the bottom, high-pressure compressed air is "blown in" through the original injection holes further up the wall. This breaks up compacted mineral wool or stubborn clumps, forcing them down toward the vacuum nozzle.
Directional Flow: The process is repeated section by section, moving across the elevation to ensure no "pockets" of wet material are left clinging to the wall ties.
3. Cleaning the "Dead Zones"
Certain areas of a house are notorious for trapping remnants of insulation, which can continue to cause damp if not cleared.
Under Window Cills: Insulation often gets packed tight under window reveals. These areas are manually checked and cleared.
Air Bricks and Vents: Any insulation that has "blown through" and blocked the sub-floor vents is cleared out to restore immediate airflow to the timber floor joists.
The Loft/Wall Plate: Technicians will often enter the roof void to remove any "overspill" that has settled on top of the walls, preventing moisture from wicking down from the eaves.

4. Quality Assurance and Reinstatement
A removal is only successful if the cavity is 100% clear.
Post-Extraction CCTV: A final camera sweep is conducted. This is the "clearance certificate" stage, where the surveyor confirms that the "bridge" has been removed and the wall ties are now visible and dry.
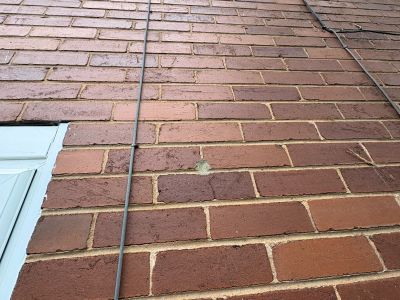
Mortar Matching: The bricks removed at the base are replaced, and the injection holes are filled.
A Professional Touch: A specialist will use a mortar that matches the existing wall in both colour and "breathability" (e.g., using a lime-based mix for 1920s-1930s properties) to ensure the repair is nearly invisible.